Good morning folks.
I'm late with this post but I finished my first dreadnought last night.
So we have two units ready to go...
Still seriously lacking in numbers here so tactical marines will be next in line.
So on to the dreadnought, Brother Vipus.
After a small vote was placed in the groups the dreadnought won out by one vote.
I made some changes to the base by adding additional detail. This was mostly sand and grit to give it more texture.
I also dropped the original basing idea of a swamp as this style looked iffy on my scouts.
I also added a couple of extra details to the legs and body. Parchment seals were added as was a veteran reef.(unsure is that's the right spelling)
I wanted something that looked like it could stop tanks. So I have armed the dread with missiles and a twin linked lascannon.
Pew pew.
As before I have applied plenty of weathering to the model.
I'm not a great painter, some folks out there are producing amazing and outstanding paint jobs.
Here I was placing decals, these are from a forgeworld Death Guard sheet. But the numbers and veteran markings were exactly what I was after.
Here are some final shots of the model.
The scorch marks and damage were fun to do. It's mostly sponged on and I used a dental brush to apply pigments from a tamiya weathering master set. These are perfect I fully recommend the burnt metal and oil set.
I used a quick metallics technique to do the metals on here. It's real simple and easy I'll post a link to the tutorial I made about this.
As you can see the decals once weathered looked spot on. With a bit of microset and microsol and a dash of gloss they almost look painted on. I distressed them with the tip of a sharp blade.
I'm really happy with how the scheme turned out
With the scouts he looks right at home.
So as I said above I used a technique to get a fast and realistic worn iron sort of look.
And I made a quick tutorial about it.
Hopefully this help some folks out as much as it help me out.
If you have any ideas on other tips you'd like me to film please let me know.
So...on to the next phase.
I plan on doing a squad of tactical marines. I don't know if I'll complete all ten but five is definitely the planned mission.
It'll be an interesting project though.
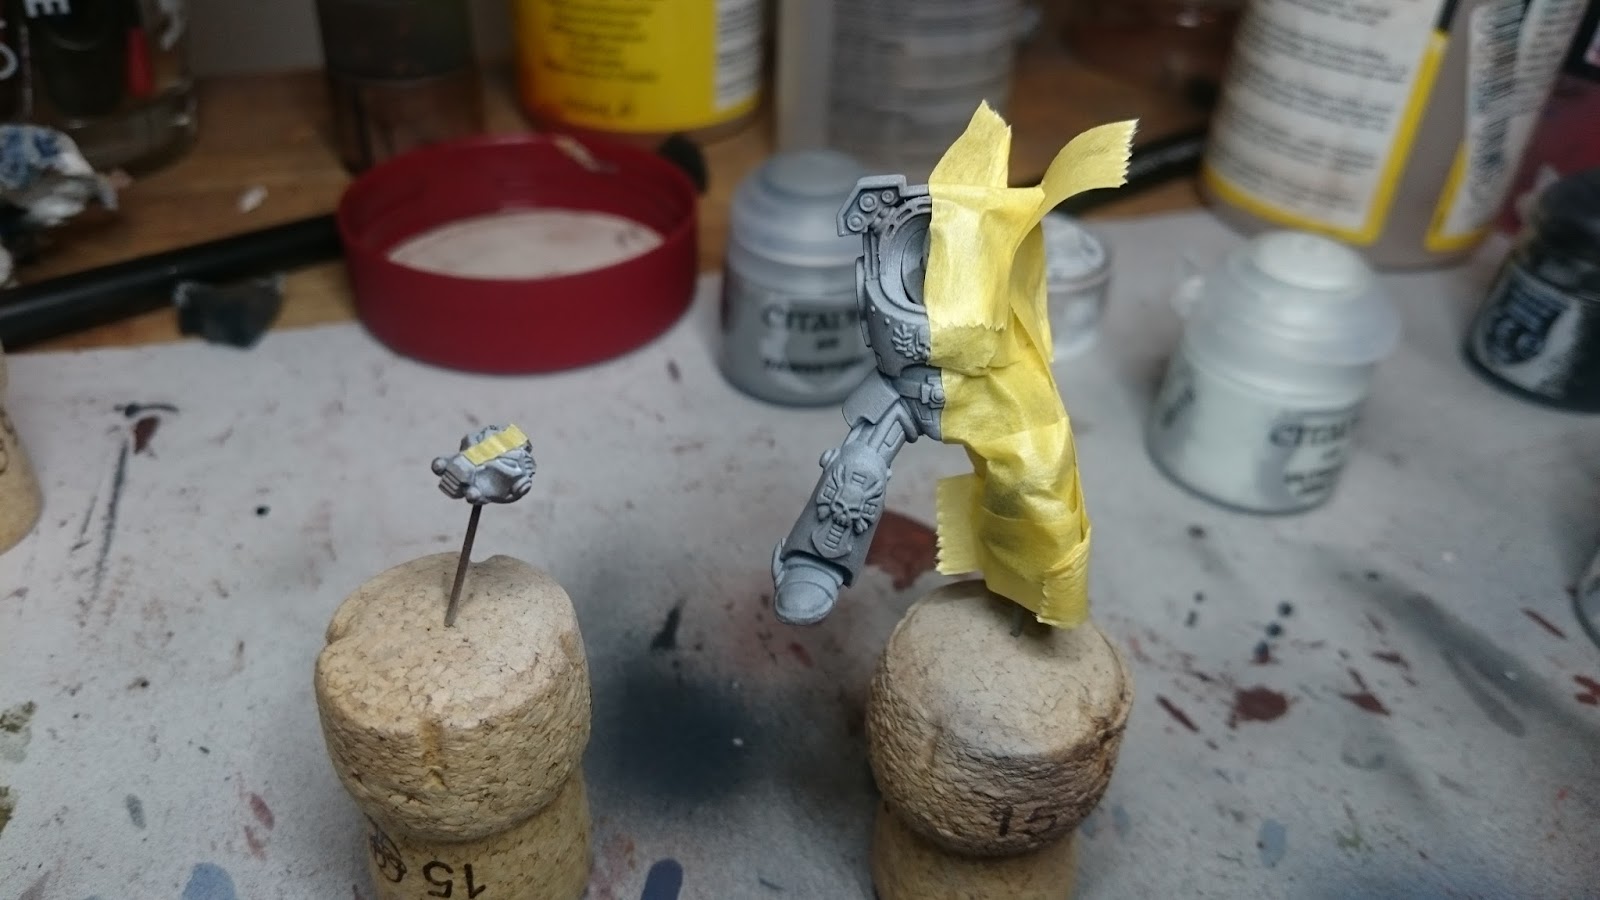
I thought as an extra I'd quickly show how I did the split scheme on the terminator.
I first primed the model with vallejos grey primer.
I then preshaded the model with a mix of black/brown
The first colour to go on was dawnstone
The second was ulthian grey
A shot of white scar was done from above to give a zenithial highlight.
I masked off the white half with tamiya tape.
I used vallejo signal blue for the shade
Followed by Macragge blue
A highlight from above of light blue was applied in the same manner as the white scar.
Once the tape is removed you should have, hopefully, a nice clean split.
So that kinda wraps up this post.
Please give us some feedback on what you'd like to see and hopefully this has inspired you to have a go at something.
Cheers James